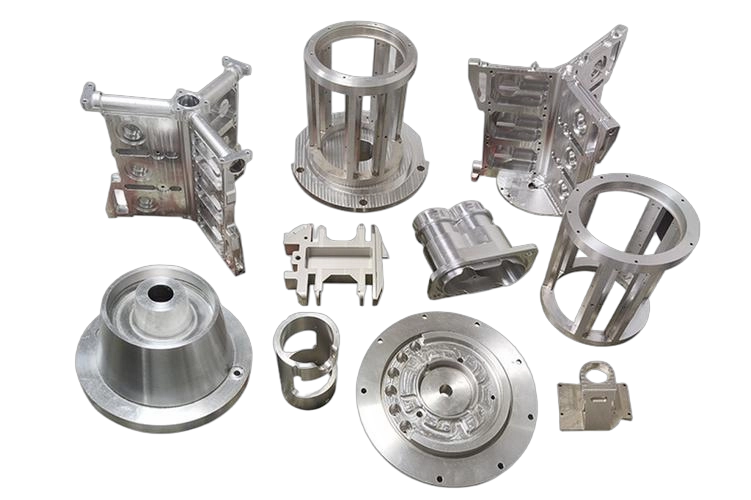
A prototype that machines well once is not the same as a part that ships well 500 times. That gap is where projects lose time, budget, and confidence. This prototype to production guide focuses on the points that matter when you need custom CNC parts to move from early validation into repeatable manufacturing.
Most teams do not struggle at the CAD stage. They struggle when a promising prototype starts revealing production issues that were hidden in low quantities. A feature that looked acceptable in a one-off build may drive cycle time up by 40 percent. A tolerance that helped prove a concept may create unnecessary inspection cost in batch production. Surface finish, assembly fit, tool access, and material availability all become more critical as volume rises.
The transition works best when you treat prototyping and production as one connected process instead of two separate purchasing events. That means using prototype orders to validate geometry, process choice, inspection strategy, and supplier communication long before you release a larger batch.
What a prototype to production guide should solve
A useful prototype to production guide should reduce three business risks at the same time: part failure, delivery delays, and avoidable cost. Engineers often focus first on function. Procurement often focuses first on price. Production reality sits in the middle. The best result comes from balancing performance requirements with process capability and supply chain stability.
For CNC parts, that balance usually starts with five questions. Does the design match the selected machining process? Are the tolerances assigned only where they matter? Is the material practical for both prototype and repeat production? Can the inspection method verify what the drawing requires? Can the supplier scale from one-off samples to low-volume or scheduled batch manufacturing without changing quality behavior?
If one of those answers is weak, the handoff to production gets expensive.
Start with prototype intent, not just prototype geometry
Not every prototype has the same job. Some parts exist only to confirm fit. Others need to survive load testing, thermal cycling, or customer demos. We recommend defining that purpose before RFQ because it affects process selection, material choice, and how much DFM feedback you need.
A fit-check prototype may not need final material. A functional test part usually does. A cosmetic prototype may require post-processing that does not belong in early mechanical validation. If your prototype goal is unclear, you can end up paying for finish and tolerance that add no value, or worse, validating a design under conditions that do not represent production.
For machined parts, prototype intent also determines whether you should stay with CNC only or combine methods. Teams often use 3D printing for early shape confirmation, then move to CNC for tolerance, strength, and assembly testing. That staged approach can shorten development time, but only if the CNC stage is planned around final manufacturability.
DFM feedback is where most savings appear
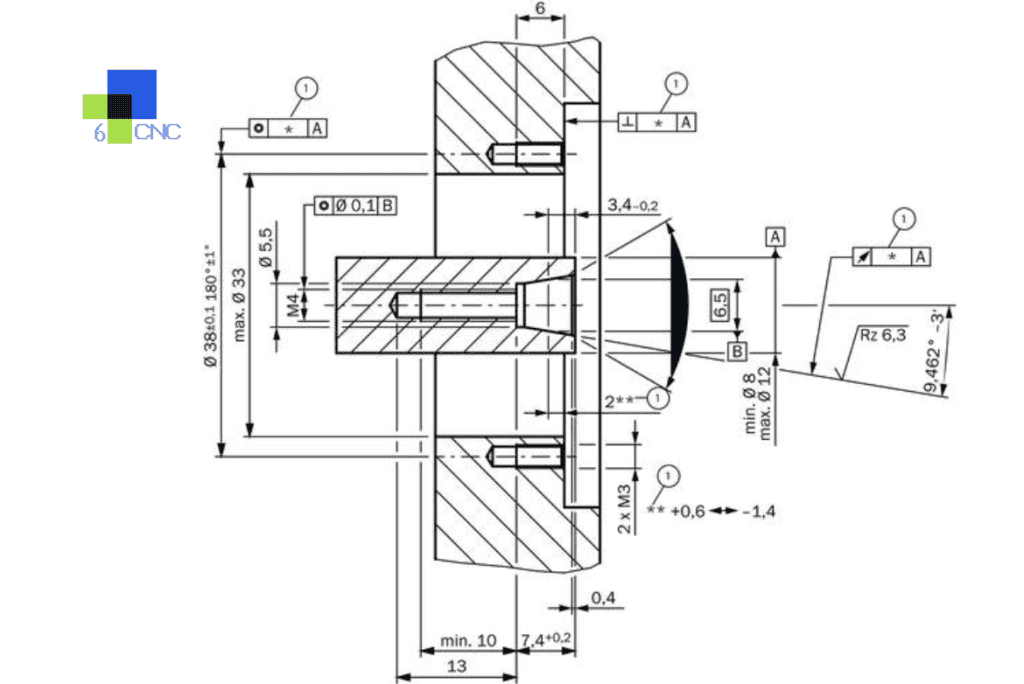
Design for manufacturing is not about making the part simpler for its own sake. It is about making the part more buildable without changing its functional value. In practice, small drawing changes often have large downstream effects.
Deep narrow pockets are a common example. They increase tool deflection, extend machining time, and can force smaller cutters that wear faster. Internal sharp corners create another issue because standard end mills leave radii. If your assembly can accept a larger internal radius, machining becomes easier and more consistent. Thread depth is another frequent problem. Specifying 3x diameter thread depth where 1.5x diameter would hold the load often adds time with no real gain.
We see similar issues with tolerance stacking. A drawing may call for tight tolerances across many dimensions even though only two surfaces control the final assembly. CNC machining can hold high precision, and in our work tolerances can reach ±0.002 mm where the design truly requires it. That does not mean every feature should be held that tightly. Extra precision increases setup time, inspection effort, and scrap risk.
Good DFM feedback should tell you what to relax, what to protect, and what to redesign before the production batch starts.
Material selection affects more than performance
Engineers usually choose material for strength, corrosion resistance, weight, or temperature behavior. Production teams also need to consider machinability, stock availability, lead time stability, and finish response.
Aluminum is often the easiest path for rapid iteration because it machines efficiently and supports strong dimensional control. Stainless steel may be necessary for corrosion or hygiene requirements, but cycle times are higher and tool wear becomes more relevant. Engineering plastics can cut weight and cost, though some grades move more after machining and may need extra care in fixturing and inspection.
The key is consistency between prototype and production intent. If you prototype in 6061 aluminum and later switch to 7075 or stainless, the geometry may need review again because stiffness, chip formation, and finishing behavior change. That is not a reason to avoid material substitutions. It simply means you should treat material change as a manufacturing decision, not just a purchasing decision.
Tolerances need a production logic
A part drawing should show which dimensions drive function, not just what the CAD model can define. Many production delays begin with overconstrained drawings that leave no practical machining route.
Critical-to-function features deserve clear tolerancing and measurable datums. Non-critical features should use general tolerances appropriate to the process. This approach speeds programming, reduces rework, and simplifies first article inspection. It also improves communication across engineering, machining, and quality control.
Surface finish needs the same discipline. If Ra 0.8 is necessary for sealing or bearing contact, specify it. If a standard machined finish is acceptable, avoid tightening it by habit. Cosmetic expectations should also be separated from dimensional requirements. A visible tool mark may not affect performance, but if the part is customer-facing, that requirement belongs on the drawing or PO.
Plan inspection before you scale volume
Inspection is often treated as the final checkpoint, but it should be part of the production plan from the first prototype. The question is simple: how will each critical feature be verified, and how often?
For low-volume CNC parts, this may involve calipers, micrometers, height gauges, pin gauges, or a CMM depending on the geometry and tolerance range. Complex parts with positional tolerances or tight profiles usually need a more formal measurement plan. If the drawing calls for a feature that is hard to access or expensive to inspect, you should know that before release, not after scrap appears.
Repeatability matters as much as capability. A supplier that can machine a good sample but cannot hold the same result across batches creates hidden risk. Process documentation, fixture strategy, in-process checks, and final inspection records all help close that gap.
Low-volume production is its own stage
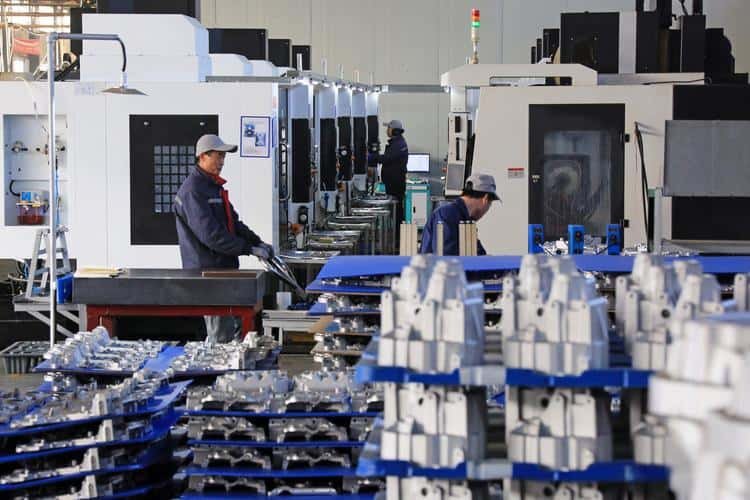
Many teams assume the path goes from prototype straight to full production. In reality, low-volume manufacturing is often the most valuable bridge. It gives you enough quantity to expose process variation, packaging issues, assembly friction, and incoming inspection challenges without committing to a large inventory position.
This stage is especially useful for OEMs, hardware startups, and automation equipment builders. Designs are still evolving, but the business needs real parts for pilot builds, customer trials, or limited release units. A supplier that accepts no minimum order quantity and supports quick-turn machining can remove friction here because you do not need to buy more than the project actually needs.
At 6 CNC, this is where many successful programs stabilize. We can quote from CAD files quickly, review manufacturability, machine prototype and small-batch parts, and keep the process aligned as quantities increase. That continuity helps prevent the common reset that happens when a team changes suppliers between prototyping and production.
Lead time is a design variable too
Lead time does not depend only on factory capacity. Part geometry, material, finish, inspection complexity, and order timing all influence delivery. If your development plan assumes a one-week turnaround, the design needs to support that expectation.
Simple milled or turned parts can often move quickly. Five-axis parts, complex assemblies, special coatings, and hard-to-source materials need more planning. Surface treatment also matters because external finishing steps can add days and introduce another quality handoff.
The practical move is to identify what must be fixed now and what can wait. If anodizing color is not needed for the engineering build, skip it. If one bore controls the entire assembly, prioritize that measurement in first article review. Fast projects stay on track when the team distinguishes validation needs from final commercial requirements.
How to know you are ready for production
You are not ready because the prototype looked good on the bench. You are ready when the drawing is stable, tolerances reflect function, material is locked, inspection points are defined, and the supplier can explain how the part will be fixtured, machined, checked, and packed.
You should also know what could still change. No manufacturing plan removes all risk. The goal is to expose risk early when changes are cheap. Production readiness is less about perfection and more about control.
If you are moving a CNC part from prototype into repeat manufacturing, ask for feedback that challenges the design, not just a price that wins the PO. The right partner will tell you where your part is vulnerable before the schedule does.

![Comparison of Operating Principles: This figure illustrates a microscopic comparison of the surface waviness and residual scallop height generated by a face milling cutter and a ball-nose cutter under different stepover and step-down settings. [Figure 4-1]](https://6-cnc.com/wp-content/uploads/2026/06/image-2-300x199.png)